Setting up the MIDAS Data Acquisition software for LyrTech hardware
![]() Options
Options
Most of the program options are given sensible default values in the software installation. If you create a new Experiment then the software will given sensible default values when the experiment is used for the first time. However it is recommended that you check all options are as you require.
From the MIDAS Main Menu select the "Preferences and Options" menu and select "Experimental Options" from the pulldown menu.
The screen should now look something like this (to see full size click on the image; use the browser "back" button to return here).
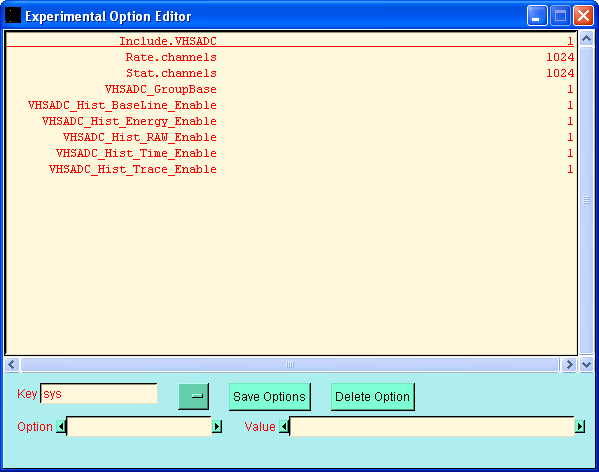
The *_Enable options allow you to choose if you wish the particular class of histogram to be created by SETUP.
In the Key menu select vhsadc.
The screen should now look something like this (to see full size click on the image; use the browser "back" button to return here).
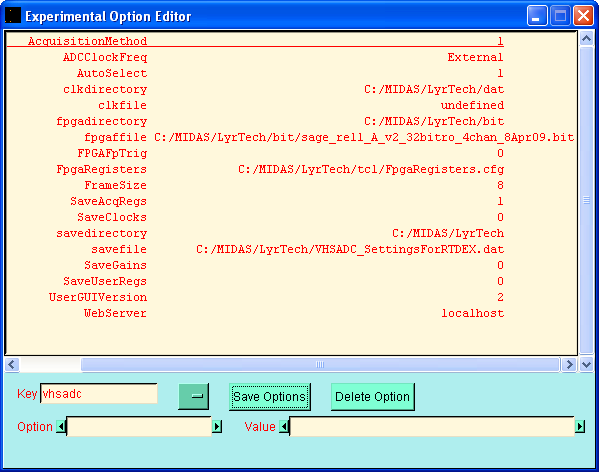
The option AcquisitionMethod MUST have the value 1 and the option UserGUIVersion MUST have the value 2.
Most of the other options are set via specific GUI pages.
![]() SetUp
SetUp
The primary LyrTech VHS-ADC control window will look something like this (to see full size click on the image; use the browser "back" button to return here).

If you have rebooted Windows you MUST first load the firmware into the VHSADC modules.
Do this by selecting "FPGA Programming" from the "LyrTech VHS-ADC Client" window.
The screen should now look something like this (to see full size click on the image; use the browser "back" button to return here).
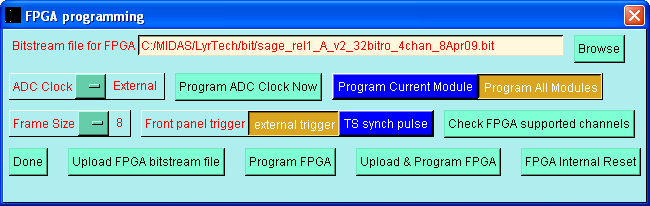
Choose the FPGA program file to be used (this becomes your default program) and normally load into ALL modules.
While this is happening DO NOT MOVE THE MOUSE OR TOUCH ANY BUTTON ON THE SCREEN.
Certain other options are selected at this point.
You can adjust the parameters used by the firmware Moving Window Deconvolution (MWD) code by selecting "User Registers" from the "LyrTech VHS-ADC Client" window.
The screen should now look something like this (to see full size click on the image; use the browser "back" button to return here).
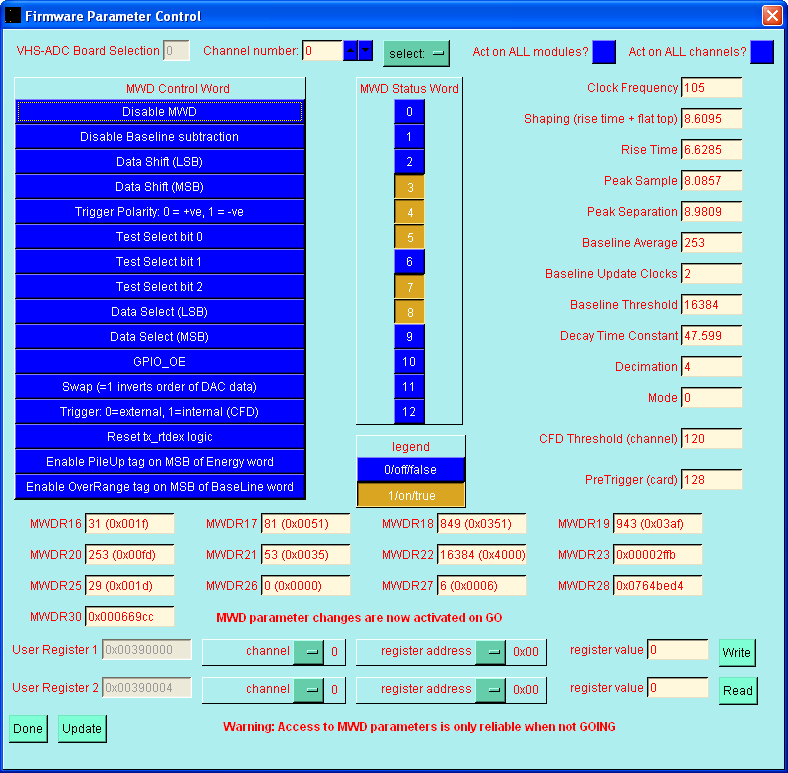
The MWD parameters can only be examined and changed while data acquisition is STOPPED.
Any changes to the MWD parameters will be lost by a SETUP operation so remember to SAVE them using the "Save Settings" option in the "LyrTech VHS-ADC Client" window.
Once you have SETUP the hardware and firmware options once these settings can be remembered so all you need to do in future is:
From the MIDAS Main Menu select "Experiment Control". Click on the Yellow SETUP button and Select "Setup Everything". Wait until you get the message "SETUP and ready to GO". This only takes a few seconds.
If you want histogramming ensure that you select the Enabled option. If you want raw data written to storage (TapeServer) ensure that you select the "TS Transfer Enabled" option (and also use the TapeServer GUI to select where the data is to be written).
You should now be able to START and STOP data acquisition using the GO and STOP buttons.
If you add or remove a VHS-ADC module from the crate first start the VHS-ADC Client window. Check the data acquisition and firmware options and save the settings using the Save Settings button.
![]() Trouble Shooting
Trouble Shooting
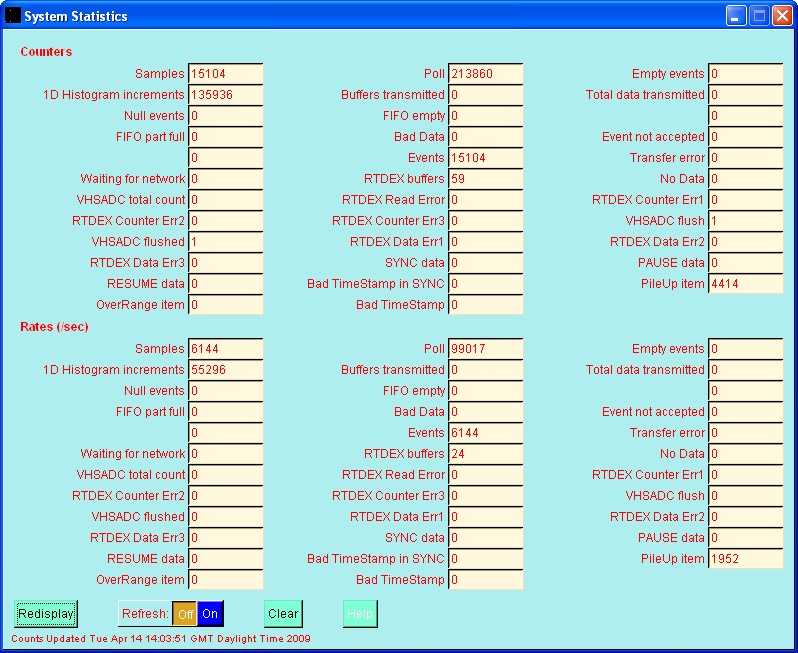
The screen may look something like this (to see full size click on the image; use the browser "back" button to return here).
return to MIDAS home page
![]()